2018 March
ok, i can build it! will it work in the real world?
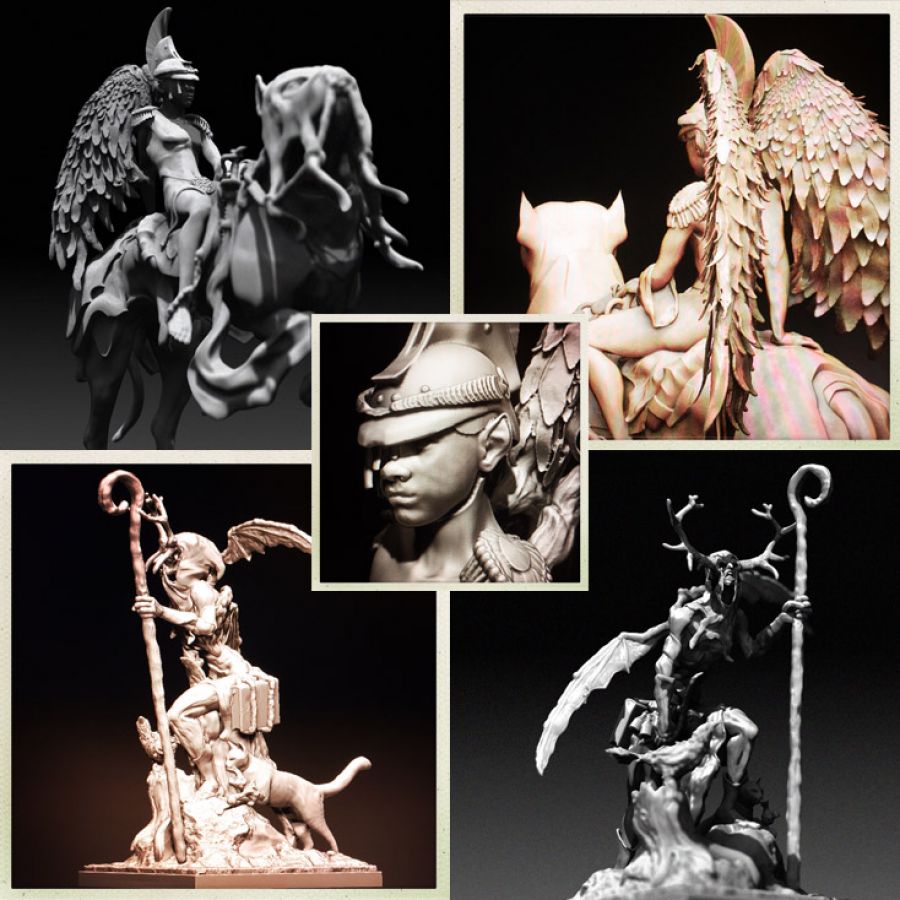
Since the modeling of the miniatures promised "doability", I didn't necessarily want to stop immediately. As I built more and more miniatures, I began to wonder if these were "printable" at all.
I didn't want to fall into the trap and find out that my models were no good when they were all "finished". I had no choice: A 3D printer was needed.
BUilding a 3D printer
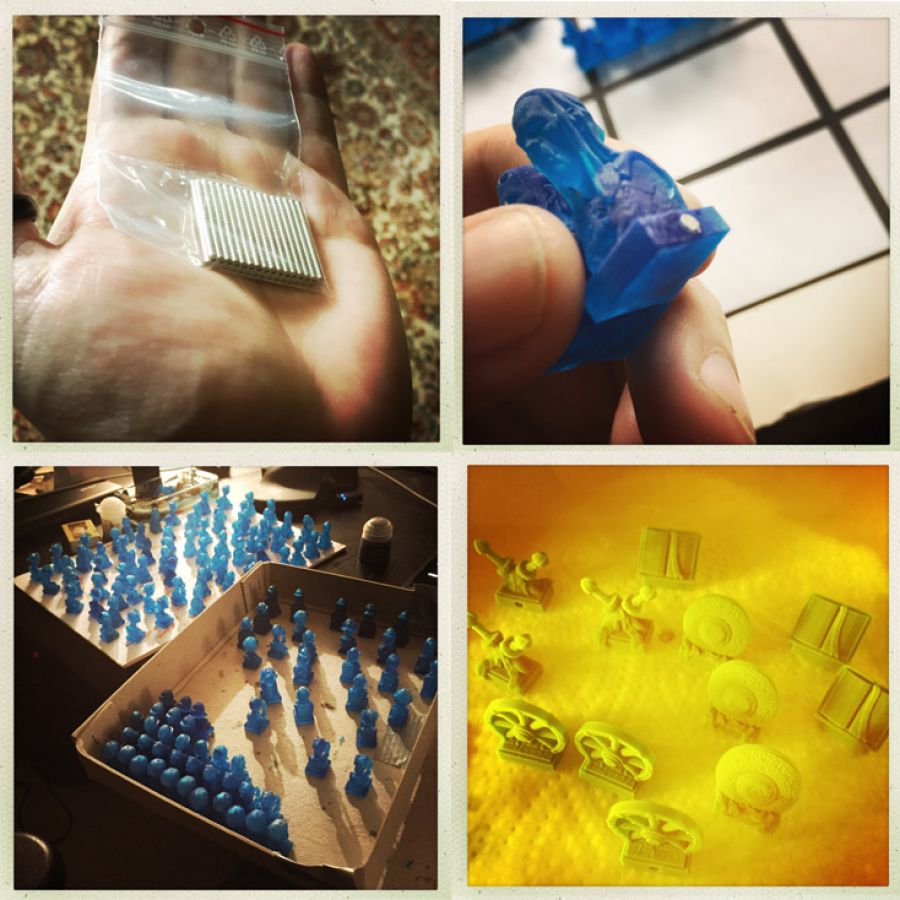
I ordered a resin printer kit (Peopoly Moai) and assembled it in a 17 hour session. I was quite afraid of it, but thanks to some Youtube videos I managed it quite well.
One is absolutely overwhelmed by the sheer number of parts. But if you take exactly one step after the other, then it works. Once I had to repeat a 2 hour step because some of the screws were only marked in Chinese. I think it was more my fault because I was completely overtired at the time. In an awake state I would probably have noticed the mistake immediately.
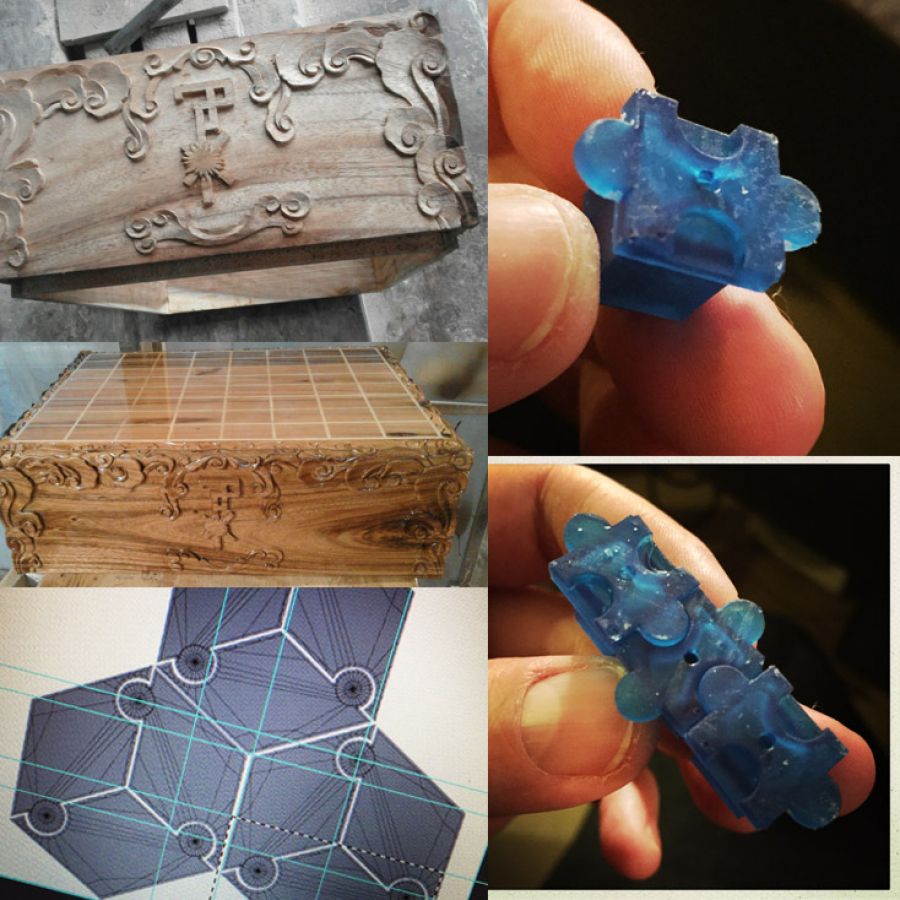
MY FIRST PRINTS
The next day I made some test prints and I was totally blown away by the quality and the details. Wow. I was lucky. My first model looked really good. All my life I needed a monitor to show people what I do and create. Now for the first time I had a real object in my hand that I had built myself. This feeling was really wonderful.
CHECKING THE OUTCOME
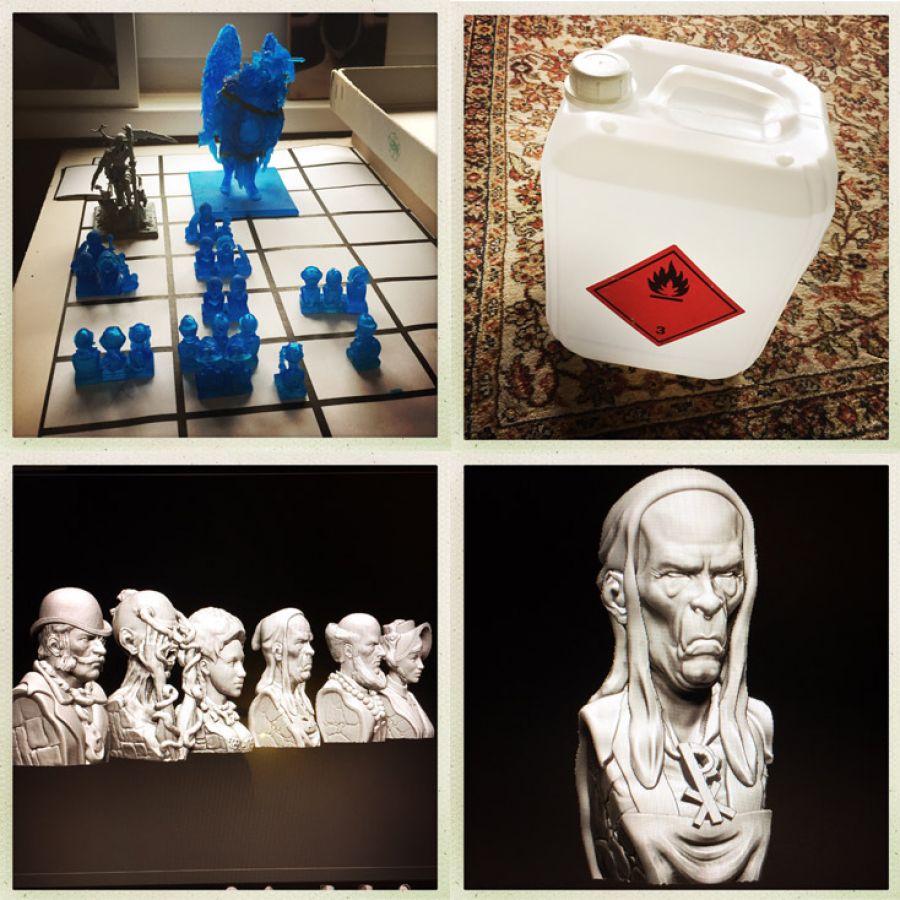
To be able to judge the models in blue resin, I had to coat the models with a primer paint. Unfortunately some details get lost. I postponed this problem for the time being, after all perfectionism is inappropriate here because there are bigger problems to solve.
CREATING EASIER MINIATURES
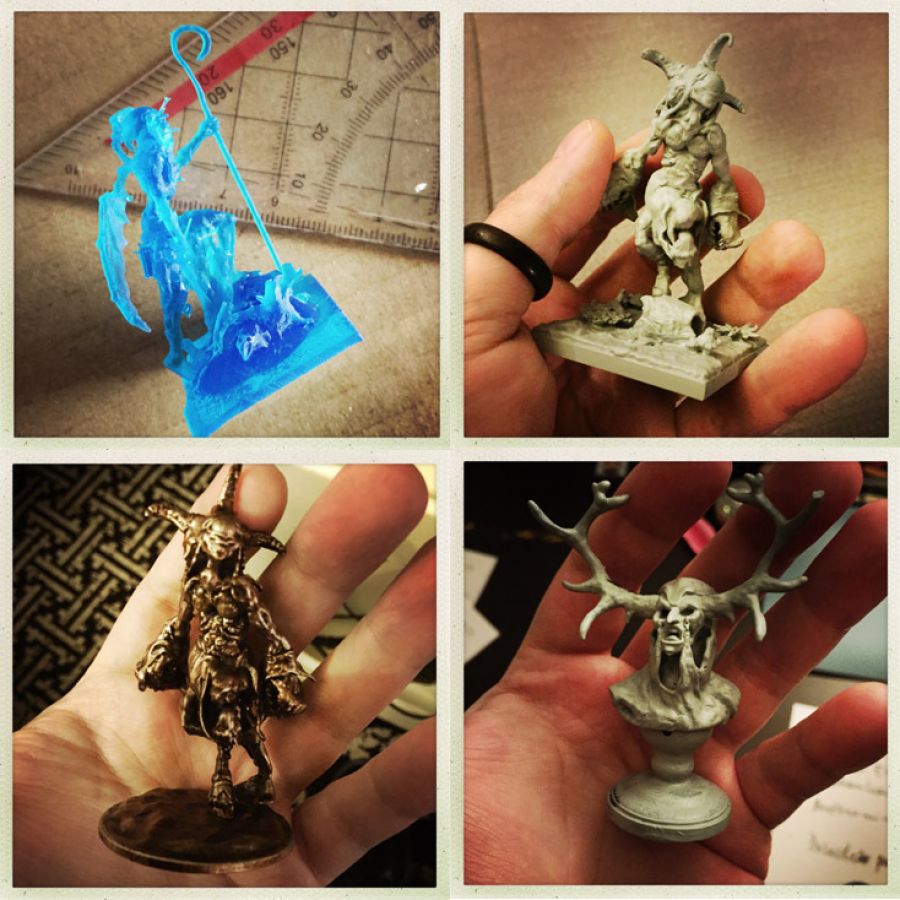
The other models were absolutely not suitable for printing. It took me almost 2 weeks to rework all the models I had built so far. Nevertheless I was very happy that I now had at least the possibility to check the suitability of the models immediately and I learned a lot.
Since I noticed that I still lack a lot of information about 3D printing and I need more practice, I decided to build some simple models first. The human models seemed to me to be well suited.


A MECHANISM TO COMBINE MINIATURES
Since the human models should be combinable I have developed some miniature bases which make this possible. While playing, I wanted the player to have the highest possible comfort of combining various miniatures and creating new strategic depth. All plug mechanisms turned out to be highly inadequate.
If you want to combine something and not create wear and tear, you have to use magnets! Perfect! Then I only had to add 300 neodymium magnets to the human miniatures and 160 to the human upgrades.
I spare you all the pictures of misprints (of which there where only a few) and other decisions that did not lead into the right direction.
PLAYING WITH STYLE
You can find more pictures of the stuff i built this month below. To get rid of my initial trash board prototype i hired some wood workers to carve the first prototype of the game box. Wood is a very difficult material and i figured that one should start early to find out what works and what does not.